Let’s create a new page by following the usual WordPress steps:
- Go Pages > Add New
- Give the page title
- Add your content (use the amazing Visual Composer)
Just below the TinyMCE Editor you will notice two meta boxes (sections for settings): One with the title ‘Page Options’ and another with the title ‘Feature Section’.
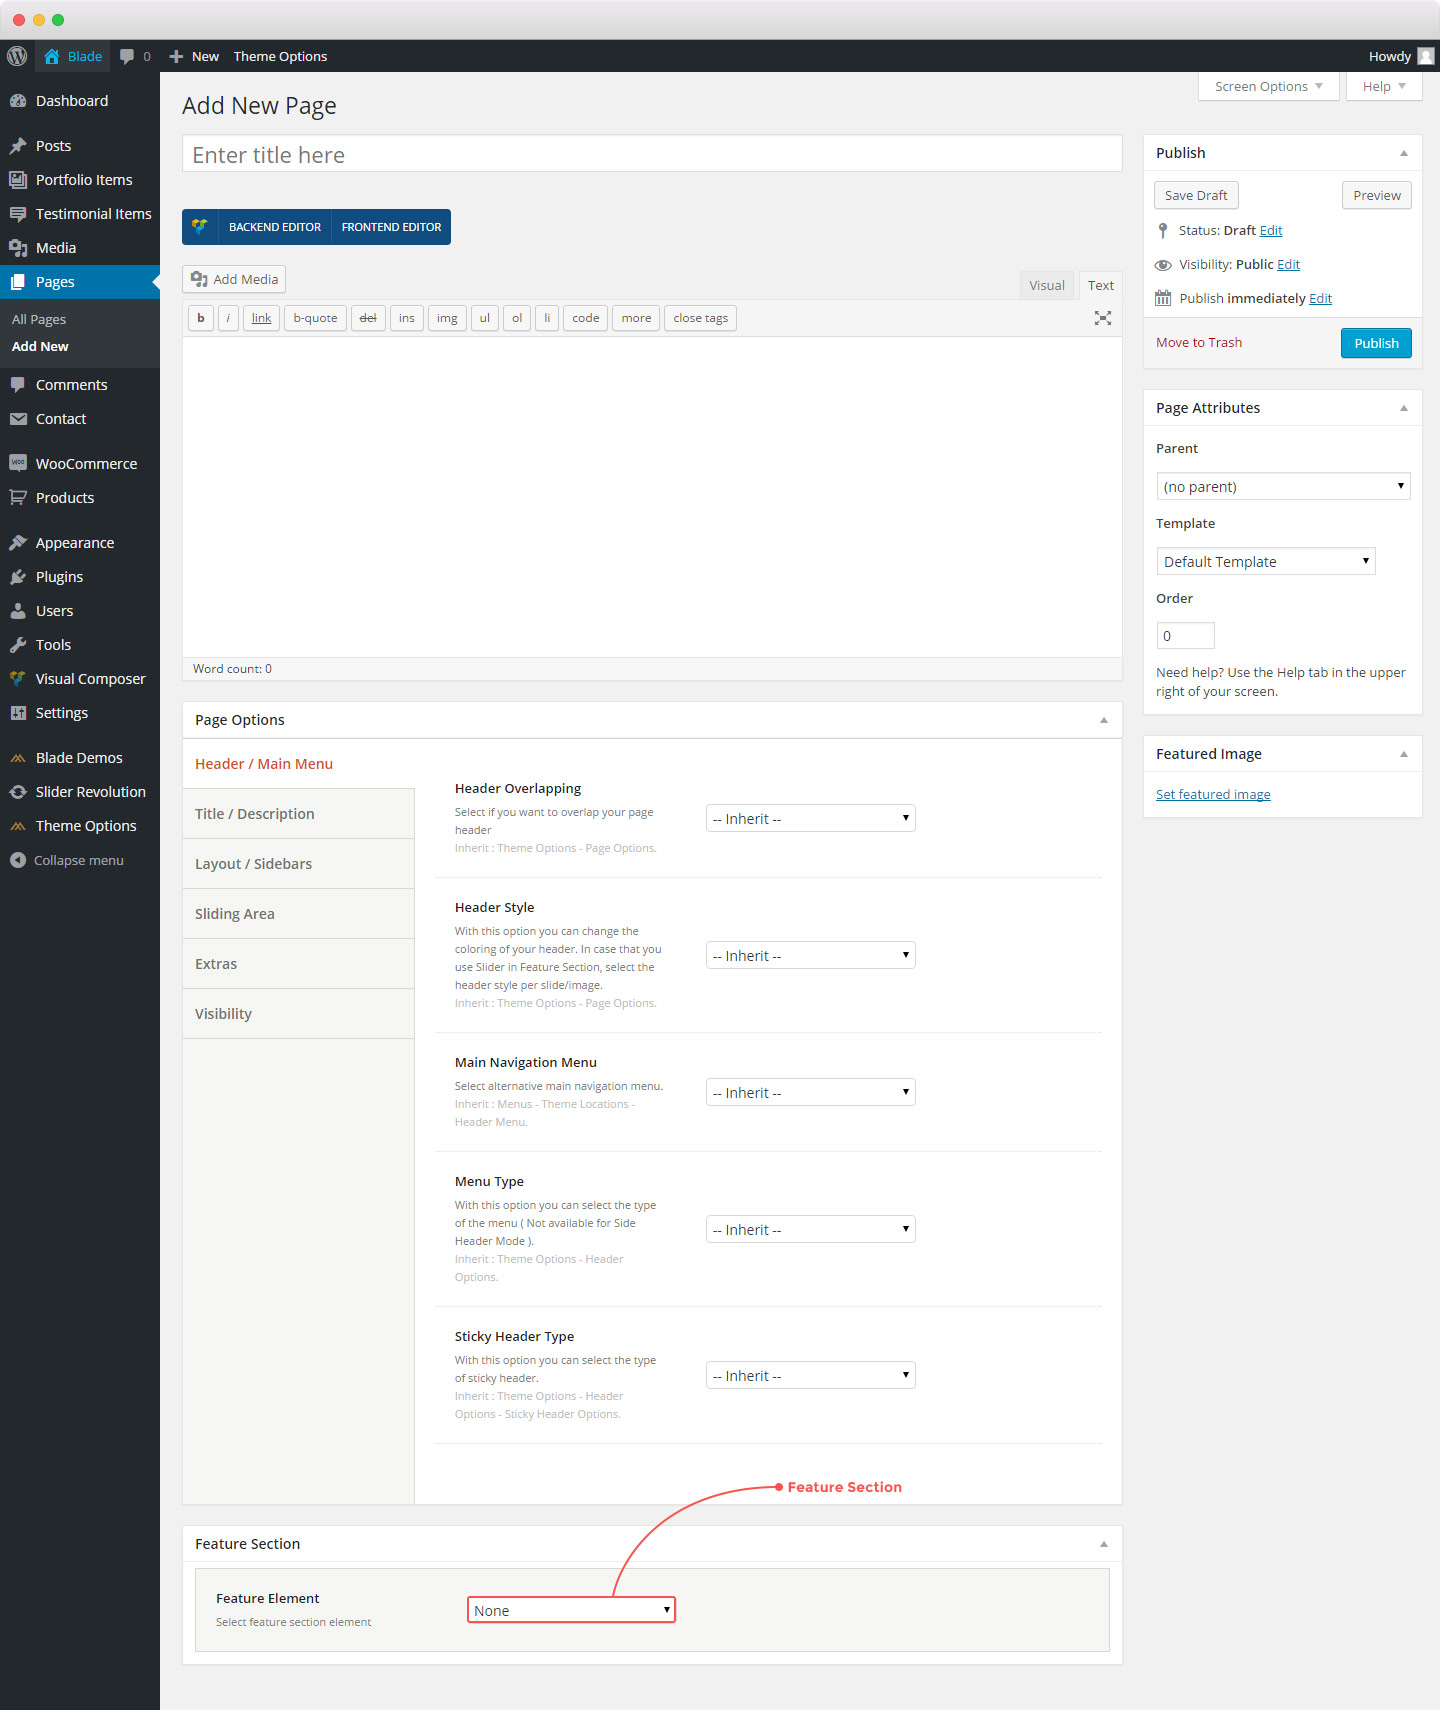
Page Options
Here you can set everything you need apart from the content of the pages(you will use the awesome Page Builder for this). So, you will find the following, organized into tabs, sections:
- Header/Main Menu
- Title/Description
- Layouts/Sidebars
- Sliding Area
- Extras
- Visibility
With these options, you can override any options you have set in Theme Options > Page Options. This means that you can handle individually each one of your pages. We really believe that everyone MUST especially explore the Title/Description tab 🙂
Keep in mind that “Inherit” means that the settings from the options panel of Blade(Theme Options > Page Options) will occur.
Feature Section
Blade gives you the chance to add one of four following special elements. You can select among:
- Title
- Image
- Slider (on the fly creation)
- Video
- Google Map
Follow the guidelines to set up the Feature Element of your choice.
In addition, it’s worth trying your site’s Header under the Feature section in any page you like. This way you can create pages of totally different style. Finally, you can define the height of your feature section. Choose a full-width section or specify the height you prefer in pixels. In general, you are able to add various Effects in the Feature section elements.
You can enable/disable the Feature Section for each one of the custom post types (Pages, Posts, Portfolio Items) in Theme Options > Miscellaneous > Feature Section Post Types.