Blade comes with four predefined menu positions, one positioned in the header area (Header Menu), two in the TopBar positions (left and right) and the other in the copyright area (Footer Menu).
To set up your custom menus simply:
- Go to Appearance > Menus.
- Enter your menu name.
- Click the Create Menu button.
- Add items to your menu by using the widgets on the left side.
- Save your menu.
- Click Manage Locations.
- Attach it to the location you prefer (Header, Footer, Top Left Menu, Top Right Menu) and save again!
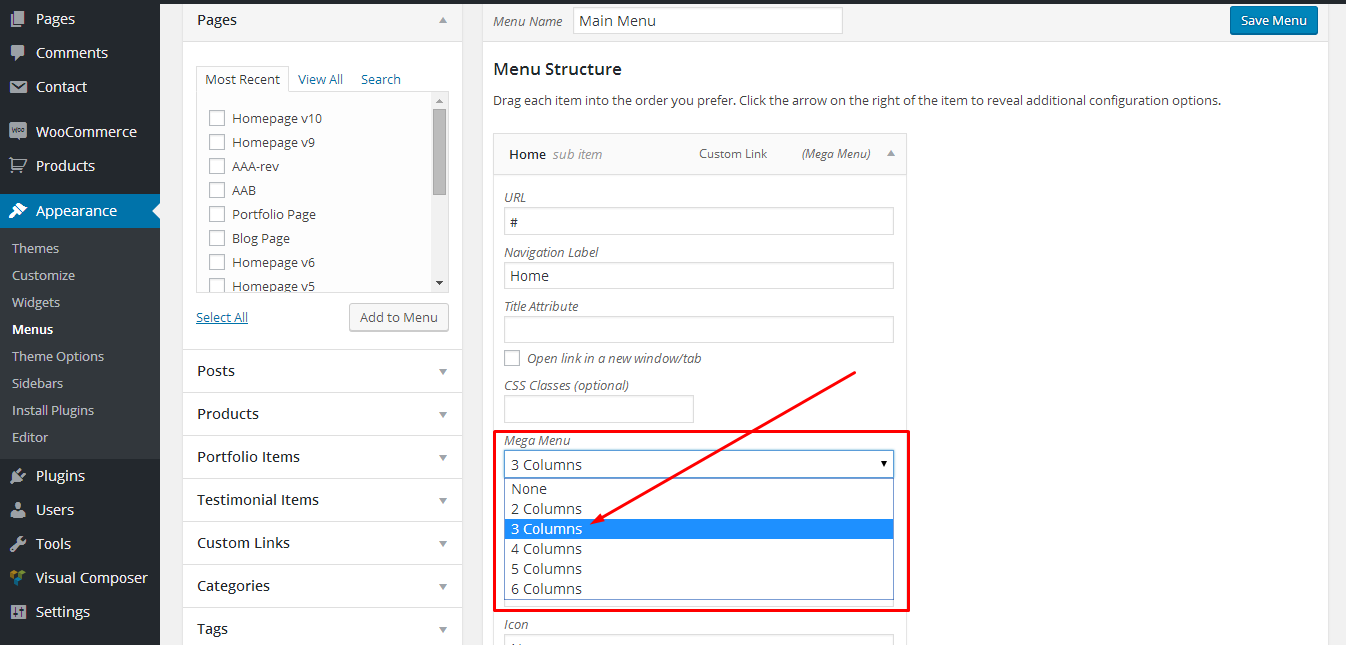
Mega Menu Built-in System
You can easily convert any submenu you want into mega menu by selecting from the drop down menu the columns you need for your mega menu. Check the picture below on how to set a mega menu with 3 columns.
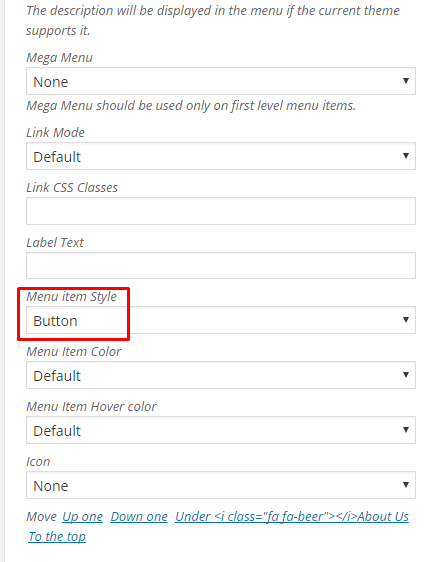
How to create a Button Menu Item
You can easily create colored menu buttons with the wording you want in any menu item of your menu. You can set the colors you prefer, primary colors are included, for the background and the hover color.
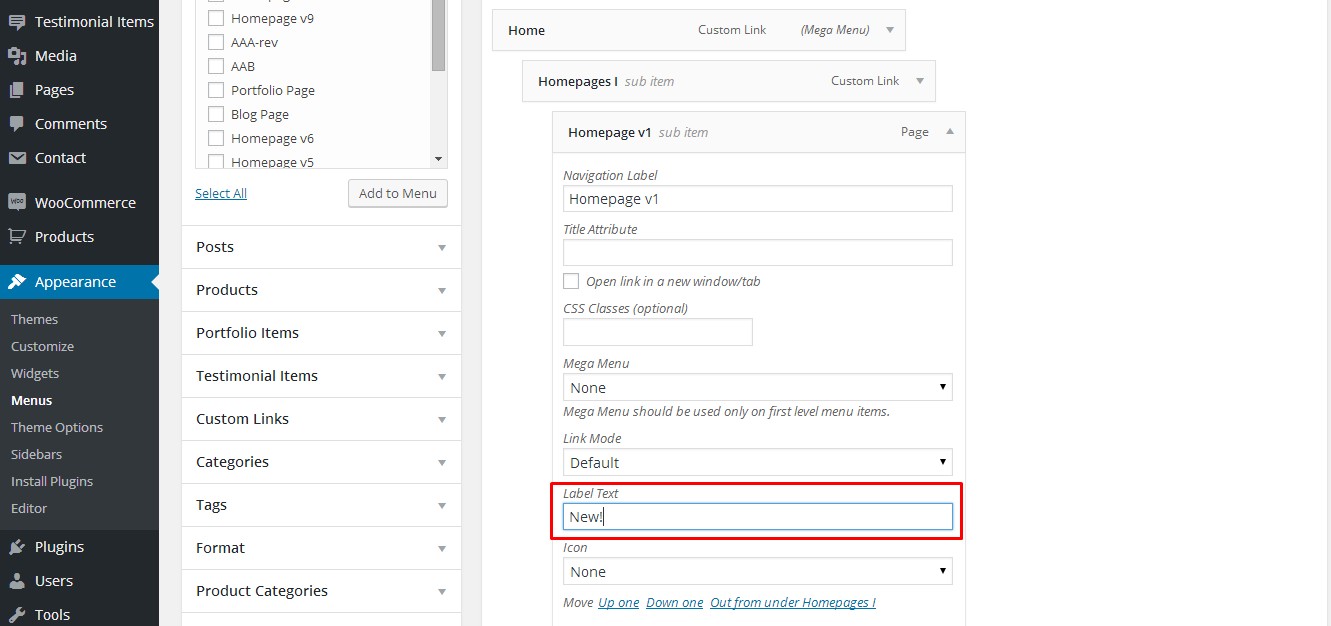
How to create a Labeled Menu Item
You can easily create labels with the wording you want in any menu item of your menu. Just add in the label text field the text you need and you are ready to go! See the picture below.
How to add Icons in the Menu Items
With the same easy way, you can add icons in your menu items. Select any icon from the Font Awesome Icons as you can see in the image below:
![]()
How to add Description in Menu Items
You need to enable this field first. Click on Screen Options at the top right of your screen and check the Description checkbox.
